Update Currency Settings
Note: This tool is accessible only if your user account is a member of the Administrator
workgroup or the second authorized workgroup for this tool. Administrator users can set the
authorized workgroup using the Access Control button  for this tool
(see Tool Access Control).
For version 16.5 Update 7 and later: Updates to variables can be specified for individual variables. In earlier versions updates can be applied to all variables or none.
The individual variable option is particularly useful during a yearly roll forward process, especially if you have a mix and match of real and nominal currency values. For example, a typical roll forward process involves changing all real values to nominal, moving the inflation date forward a year, and then only updating the input variables back to real; resulting in last year’s real numbers being inflated to represent this year’s real numbers.
This tool will update the currency settings for multiple documents in a single operation. You can also use this tool to perform bulk assignment of Planning Space Economics regimes to documents in your Dataflow hierarchy.
Once a job has been submitted, you can carry on working in the Planning Space application and the job will continue in the background on the IPS Server. You can view the job logs in the Job Viewer.
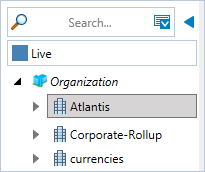
- Select the parent node of the projects or documents that you want to update.
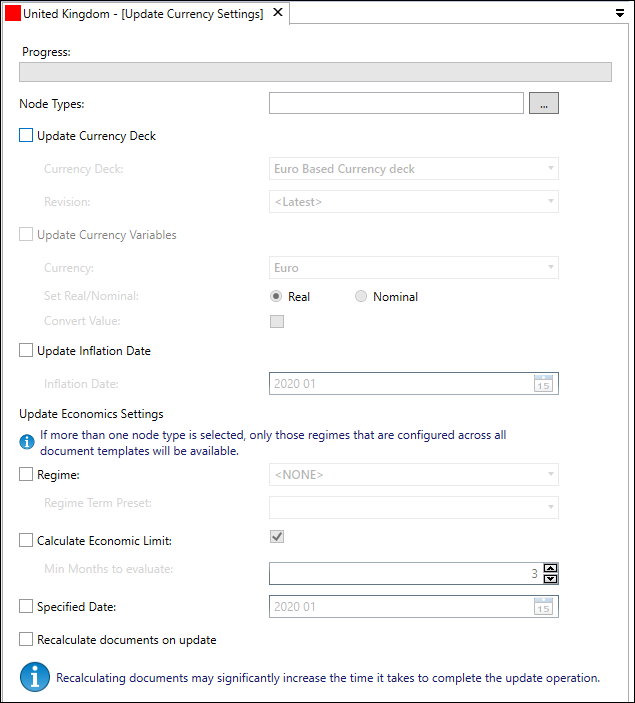
- Click the Update Currency Settings button in the Tools tab on the ribbon. The Update Currency Settings panel will open in a new tab:
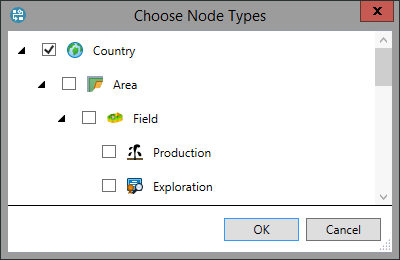
- Select the node types you want to include by clicking the ellipsis button ... for Node Types.
- Check the boxes for the nodes that you want to update. Click OK to close the dialog.
- Next, you need to select the settings to be changed. Use the check boxes for Update Currency Deck or Update Inflation Date to enable changes and then select the details to be changed: Currency Deck and Revision, or Inflation Date.
- When Update Currency Deck is enabled, you can optionally enable Update Currency Variables: specify the Currency and the Real/Nominal selection; the Convert Value check box must be enabled to convert the variable values (if unchecked only the currency label is changed).
- For Economics Settings: Select the Economics Regime which will be used to calculate the document (the list of regimes shown is defined in the template, see Economics configuration). Then select the terms preset which will be used for calculation. Check the Calculate Economic Limit box to have the economic limit calculated by the regime (and you will need to enter the number of months the regime must evaluate before economic limit can be reached); if you leave it unchecked, you will need to specify an economic limit date.
- Check the box Recalculate documents on update to perform recalculation of documents to ensure they accurately reflect the new settings that have been applied.
- Click the Update button
 on the
ribbon to begin the update process.
 - You will see a Progress bar at the top of the tool panel indicating the overall progress of the operation and a status message.
- When the update operations are complete you will see a final status message and indication of any errors. Detailed log information can then be found in the Job Viewer.


For version 16.5 Update 7 and later: Updates to variables can be specified for individual variables using the Variables control. By default, 'All Variables' are selected. Click the ellipsis button ... to open the Choose Variables dialog. Un-check the box Update Currency for all Variables in the dialog. Then check the individual variable names as required (you can use the filter controls in the 'Variable' and 'Category' column headers to select subsets of the variables to be listed). Click OK to save the selection and close the dialog.
Note: Enabling Recalculate documents on update may significantly increase the time it takes to complete the update operations.
